
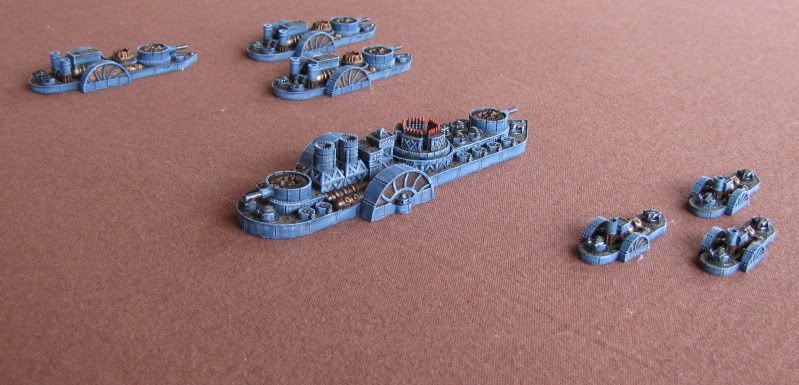
KoB - Battleship, 3 cruisers and 3 frigates. All ships had maximum shields possible
FAS - Battleship, 3 cruisers and 3 frigates. All ships had shield generator instead of rocket batterys.
We didn't have a mission, just playing victory points. This is an area that needs some attention from Spartan but I am sure there will be lots of mission published online soon.
Logic behind the shields on the "Ruler" was the concern I have about a critical roll of a 2 or 12. Dead. Seems a bit harsh that your battleship can just explode etc . I think that it should be changed. The shield decision was a mistake and I'll explain that later.
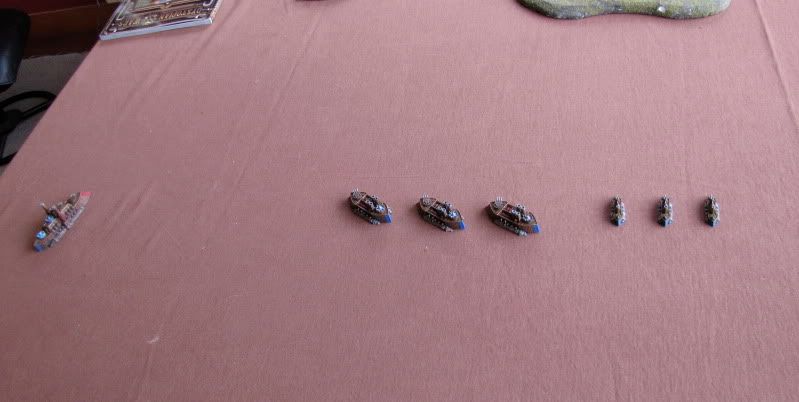
Deployment was outside of range band 4, about 36" separation.
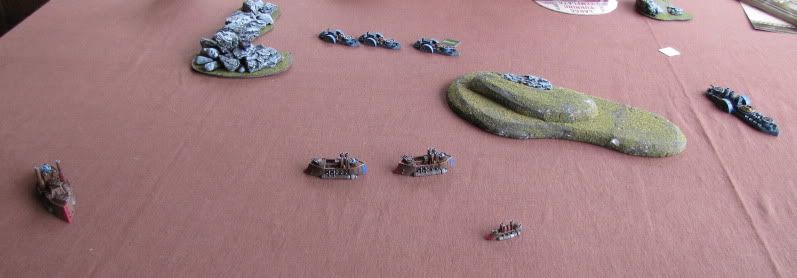
FSA deployment
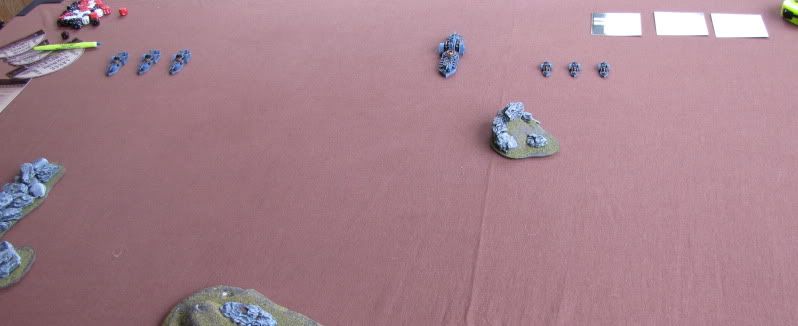
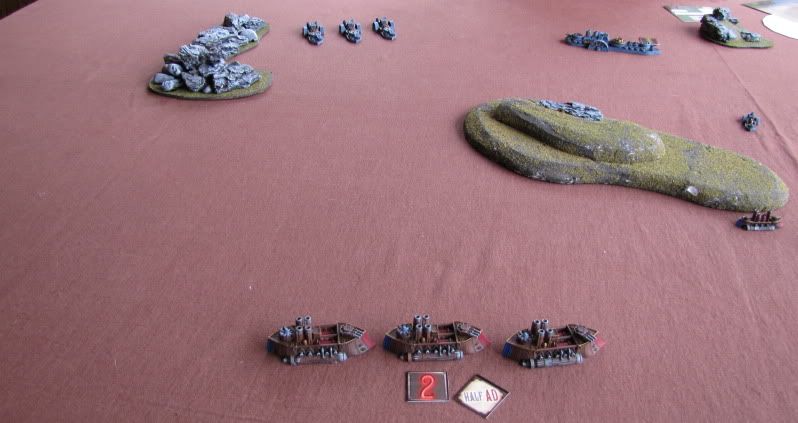
my deployment
I won't do an activation by activation account but just highlight some of the main points.
Turn 1: We just moved it position, all outside RB4. I tried to keep my "Ruler" at maximum distance on the right flank. I tried a shot with frigates but just outside RB3. My "Tribal" class were just outside RB4 with there P/S torps.
Turn 2: FSA moved up frigates and I did a tight turn to bring to bear my guns. 2 FSA frigates dead. Good shooting. We had a discussion about movement and using the turn templates and the section in the rules re Minor directional changes. Still not 100% convinced but hey, its a not a tournament game.
FSA shot up the cruisers , shields didnt work. FSA battleship shot up a frigate. My "Ruler" point a hp on the FSA battleship.
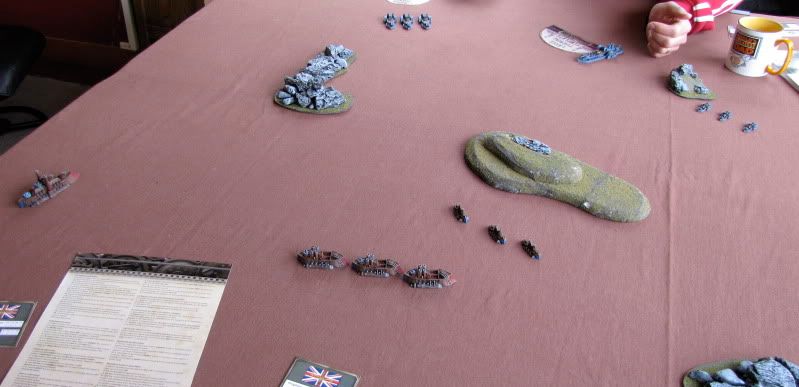
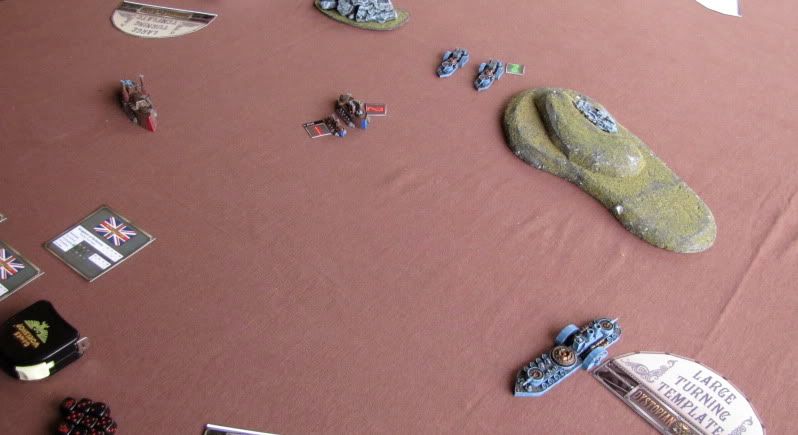
Turn 3: I lost a cruiser. I finished off the FSA frigate with my frigate. The FSA battleship started to turn around the island that was protecting my cruisers and last frigate. I moved my Ruler closer but 2 turrets is not enough to damage unless your very lucky (my Rackham dice helpes :-)
Turn 4: I started to see the outcome, we would be left with our battleships. I lost my crusiers and last frigate to the FSA battleship, wow it can really unleash the shots with its big turrets. I shot 2 FSA cruisers with my battleship.
Turn 5: A few shots at the last FSA cruiser but to no avail. Ended with win to FSA on VPs. I had an unwounded Ruler left and FSA had a Battleship with 1 wound and a cruiser with full hps.
Conclusion: Fun game to learn rules, some minor rules to sort out but overall ok.
The following chart outlines can be used to see the differences between the FSA and KoB Battleships.
As you can see the KoB is almost evenly matched with 1 shield generator, and with no shields the 4 turrets are superior to the FSA. If the KoB player links 2 turrets together they are very similar to the 2 turrets of the FSA at RB 1 and RB2 and RB3. Table 1 does not include other weapons but I will do this at some stage.
Table 1. Turrets comparison showing number of AD
| | RB1 | RB2 | RB3 | RB4 |
| Turrets | | | | |
| FSA | 24 | 20 | 16 | 12 |
| KoB | 36 | 28 | 12 | 8 |
| with 1 Shield Generator | 27 | 21 | 15 | 6 |
| with 2 Shield Generators | 18 | 14 | 10 | 2 |
| | | | | |
| FSA - Linked all | 18 | 15 | 12 | 9 |
| Kob - Linked all | 21 | 16 | 11 | 5 |
| with 1 Shield Generator | 17 | 13 | 9 | 4 |
| with 2 Shield Generators | 13 | 10 | 7 | 3 |
| | | | | |
| FSA | 12 | 10 | 8 | 6 |
| FSA total | 24 | 20 | 16 | 12 |
| Kob - Linked 2 turrets | 12 | 10 | 7 | 3 |
| Kob - Linked 2 turrets | 12 | 10 | 7 | 3 |
| KoB total | 24 | 20 | 14 | 6 |
No comments:
Post a Comment