
Fleets were
KoB Battleship | 180 | |
KoB Battleship | 180 | 59.50% |
Bombers * 2 | 120 | 19.83% |
Frigates * 3 | 75 | |
Frigates * 2 | 50 | 20.66% |
605 |
vs
Battleship | 170 | |
Cruiser * 3 | 180 | |
Frigates * 3 | 75 | |
Frigates * 3 | 75 | |
Bombers * 2 | 110 | |
610 |
Deployment was

Turn1:
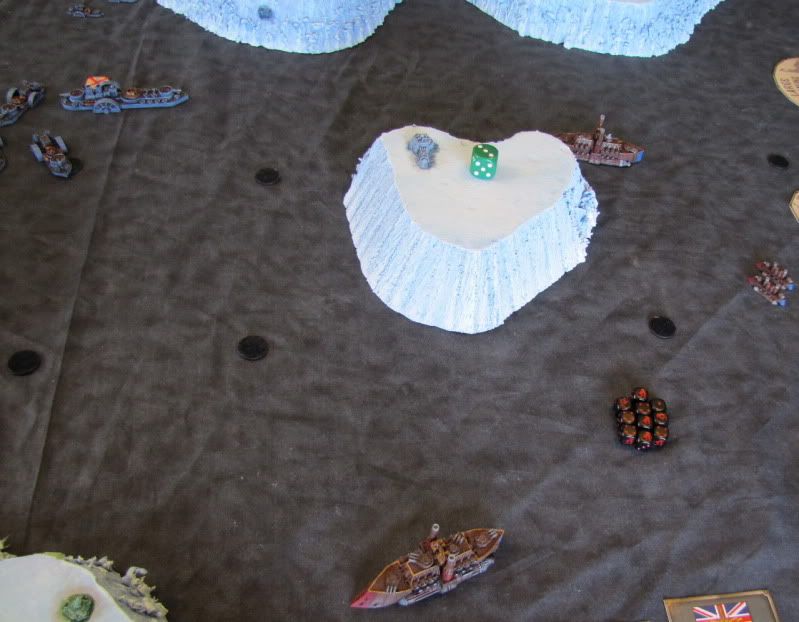
Mainly just moving into position , I (KoB) decided to try and get the bonus point for entering the middle strait first. It cost me 2 frigates in turn 2 but in hindsight it was worth it!

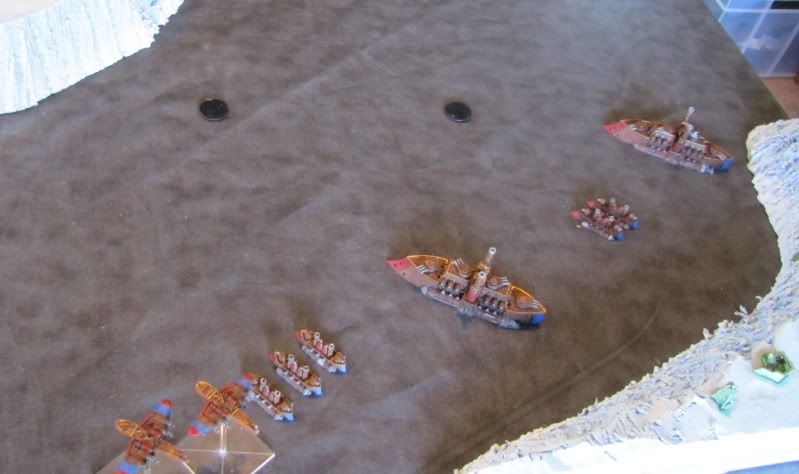
my 2 KoB bombers are bottom right corner.
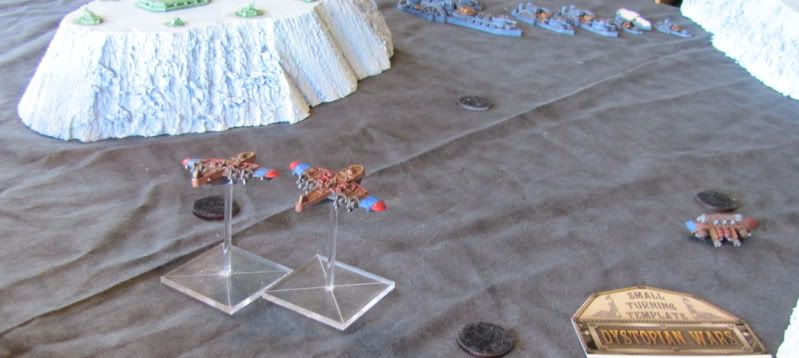
Arial shot shows positions at end of turn 1
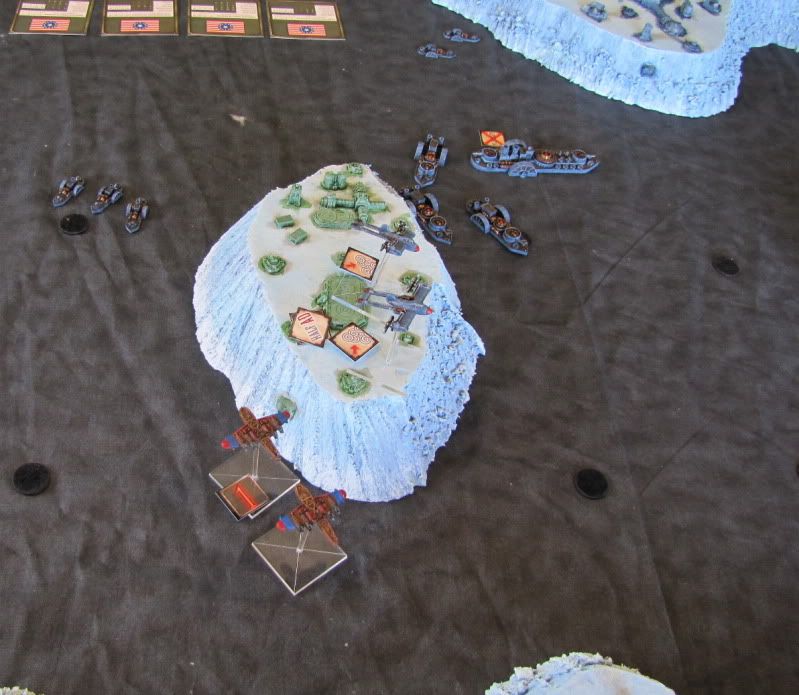
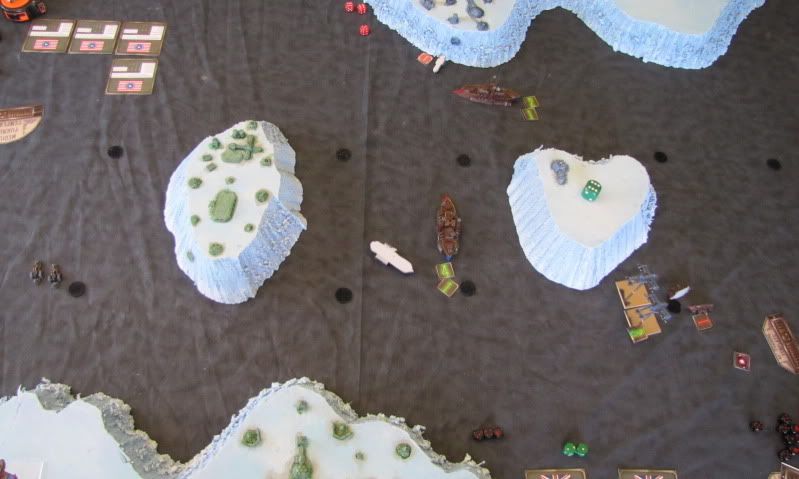
Turn 2: We are both moving into RB4 so I expect some guns to be fired and maybe even some damage.
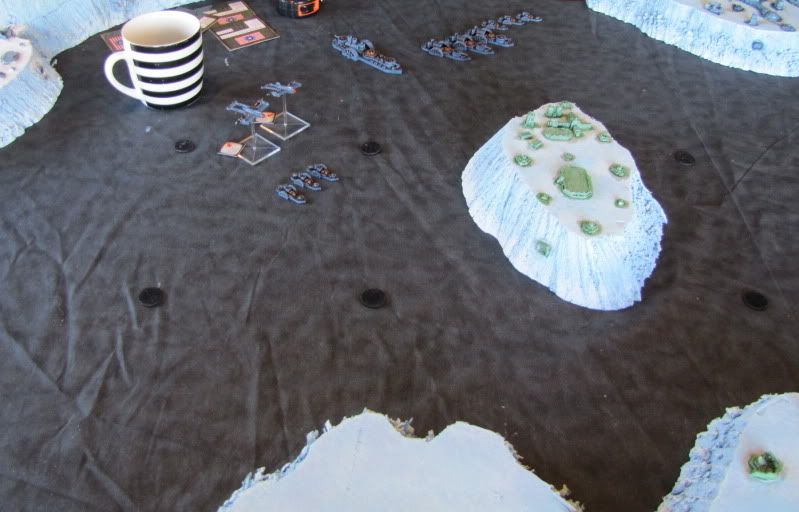
FSA are keeping together and moving towards the middle straight. The FSA frigates and bombers move towards the bottom (on picture) to try and close down both channels. I (KoB) moved my frigates into the middle straight to claim the bonus VP but it cost me 2 frigates. I passed my break test. I torpedoed a FSA frigate and headed my bombers towards the FSA ready for a bombing run. The KoB BS was bringing it guns to bear ready for the next turn and the shielded KoB BS was steaming towards the top channel ready to confront the FSA BS. I didn't know that the bombers could deploy flying obscured so they tried to swiftly ascend but couldn't.

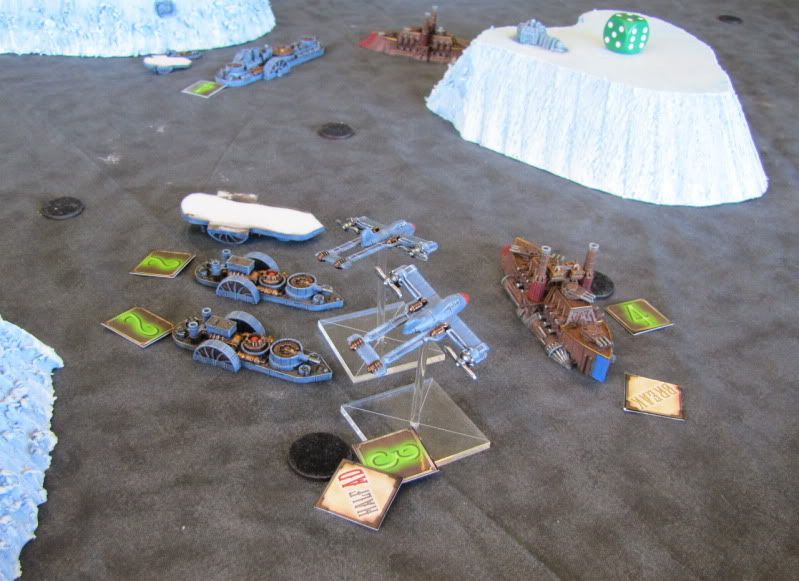
Some close up shots (you asked for them) . My opponent has done a very nice job of painting up the FSA. I should mention that he used to have a very nice Space Wolf army so I think I see where he got the style from ;-)
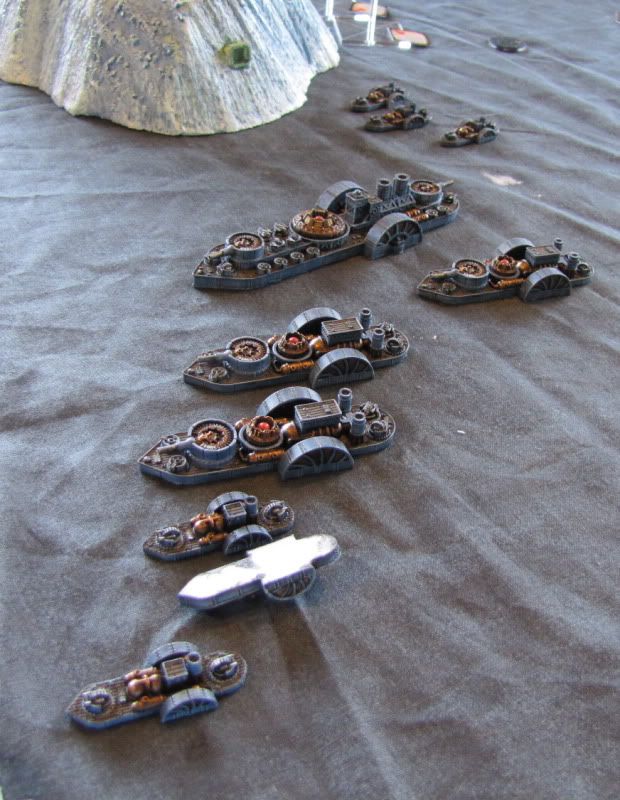
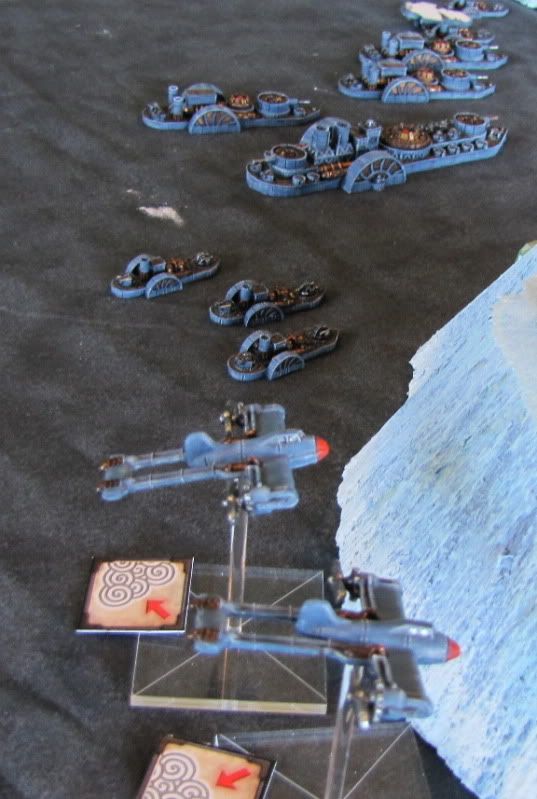
Some of my bombers
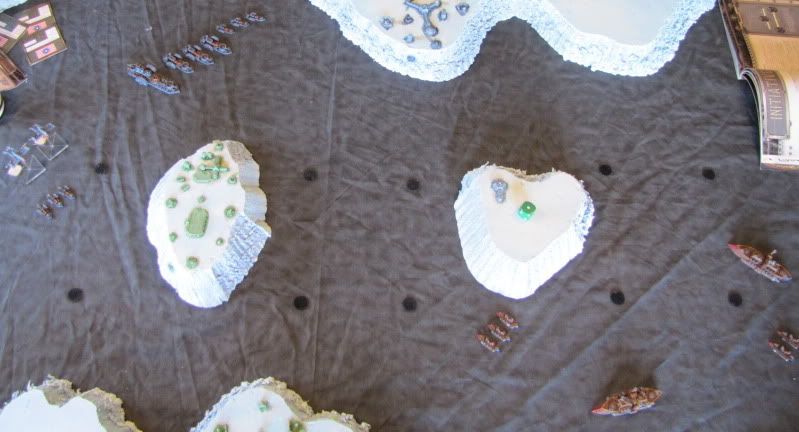
Turn 3:
I won initiative (although I think you should have the choice to go second if you win, Spartan Hint: please change this) so I changed direction of my bombers and decided to attack the FSA bombers. Dumb idea. Ended up getting ack acked and his bombers just flew away! the KoB BS had a shot at the FSA BS and took out his shields and 2 HPs. The FSA cruiser were sailing an intricate course and I could see the FSA Commanders waving shaking his head. The FSA BS opened up on the KoB BS with the 4 turrets and got nothing - nothing at all. I lucky break for the KoB commander I think. The KoB BS was steaming around the rightmost island to try and torpedo the FSA BS.
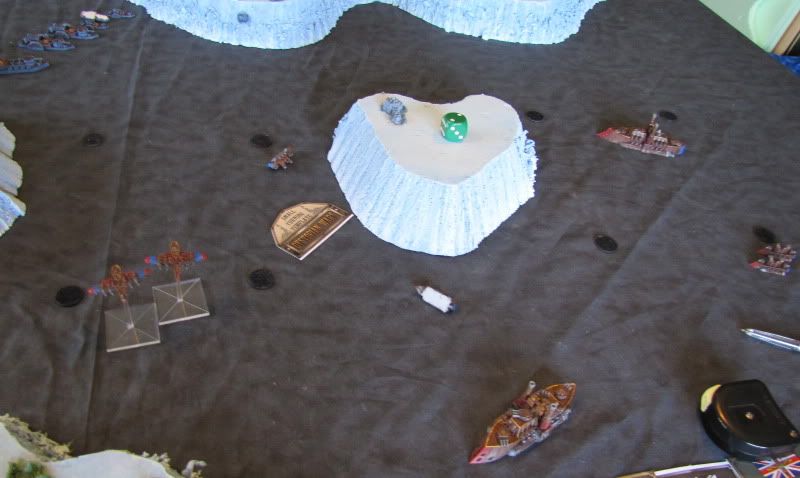
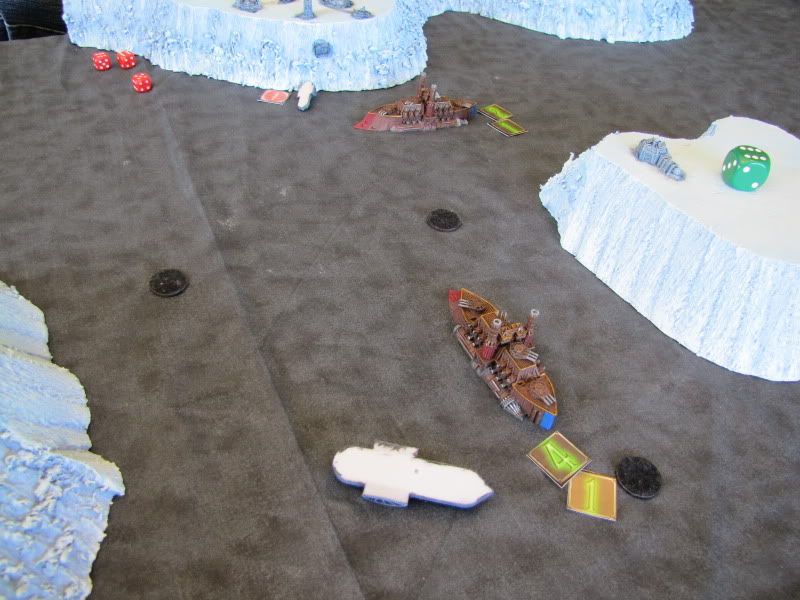
Turn 4:
The KoB BS had a good round of shooting the FSA Cruiser took some damage and one was sunk. The main turrets on a KoB BS are very effective at RB2. The FSA BS also took a hit from the fore torpedoes and turrets of the other KoB Bs. The Battleship looked like they were running out of space and a collision was imminent.
Turn 5: Bombers dropped a bomb on the KoB bs and wounded it. The FSA BS took some more wounds and the KoB BS was wounded. A collision happened and the KoB Bs took a wound, but to no avail, it blew the FSA BS to smithereens. The FSA cruisers were badly damaged and with the loss of the FSA BS it was all but over.

Turn 6:
The FSA cruiser was sunk and the bombers had taken out the KoB frigates but the KoB claimed the victory with 2 objectives to 1. Remember that only naval models could get VP to secure the objectives. Harsh but I wanted the emphasis to be with the fleets not the aircraft.

Victory to the KoB.
Overall a very enjoyable game. It wasn't all about the shooting you had to control the straits at the end of turn 6 to win. The bonus VP for entering the middle strait gave me the victory 2 to 1 but i timed my run with the BS and had some lucky rolls. Surprises - The FSA Bombers were good, very good. The KoB BS when it can get all its turrets to bear was very good.
No comments:
Post a Comment