
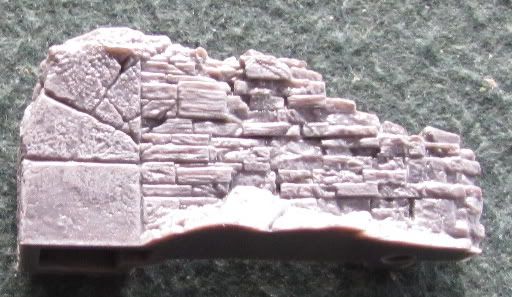
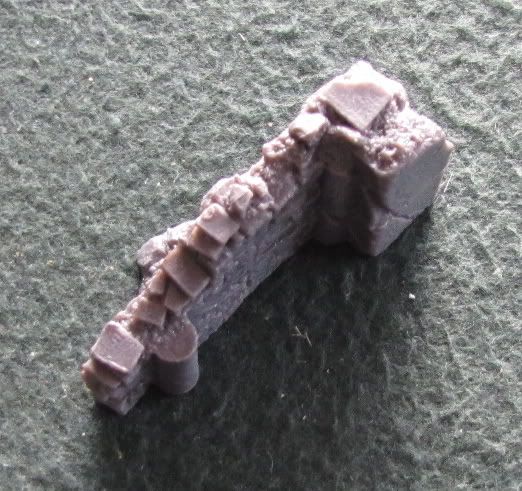
I found a terrain piece (guess what it is from if you can!) that I could try and make a mold of that I always liked.
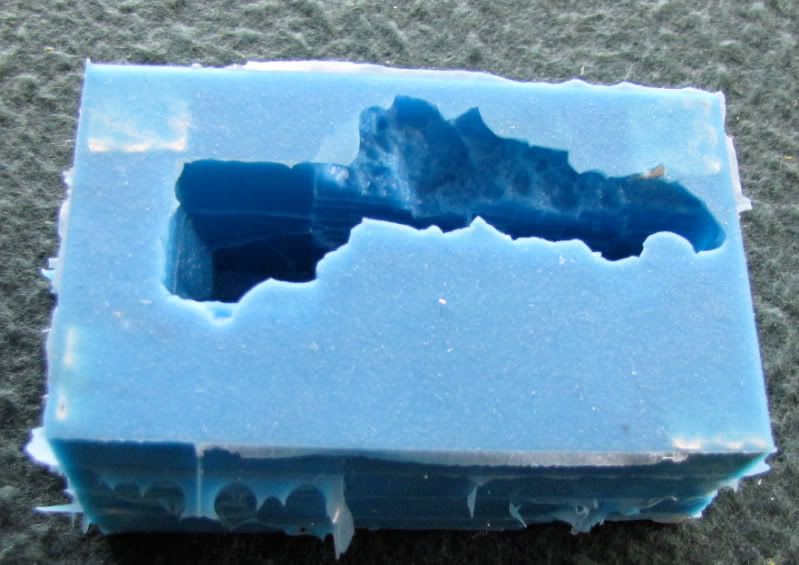
I made a quick mold from some lego blocks and clamped it to a piece of MDF. I measured out the silicone and added the catalysts and mixed etc. I then painted some on the wall and then poured the rest over. First lesson - I didn't make enough and it did not completely cover the mold. I got some small plaster block and pushed into mold to try and raise the level. Second lesson - I need some small plastic cups without any lips etc so I can get out all of the product without it going everywhere. Third lesson - I need something to stir the product with. Here is the mold....
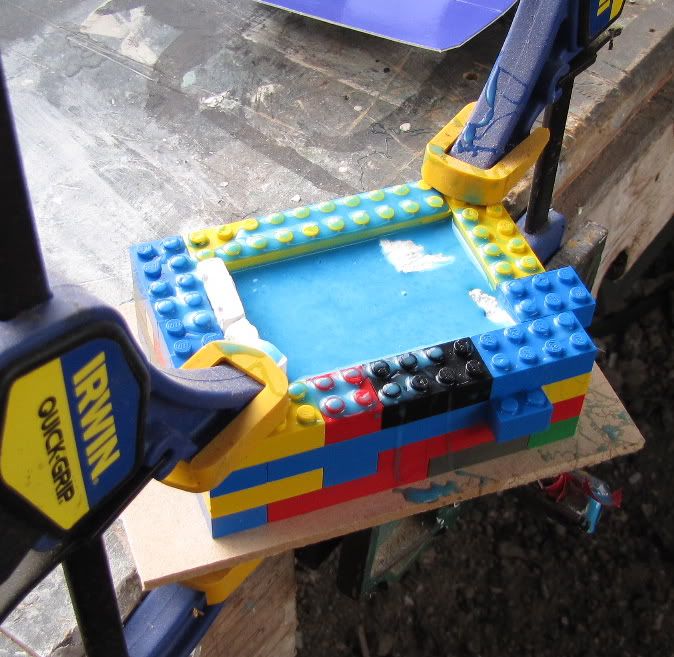
I will leave to cure overnight. Overall Lesson - Be prepared and don't rush , but hey, I'm just keen to try it out. I hope It will produce something I can use. Each 110 g of product is about $11.50 worth, so its not cheap but if it works then I can make some serious amount of terrain that I will need for my project.
The silicone has cured , its a bit rough to look at , but hopefully it will make some good casts.
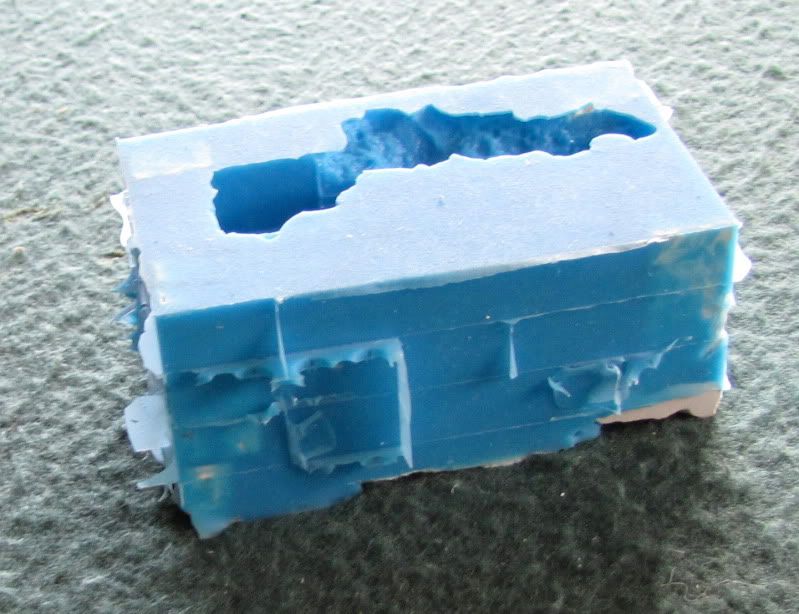
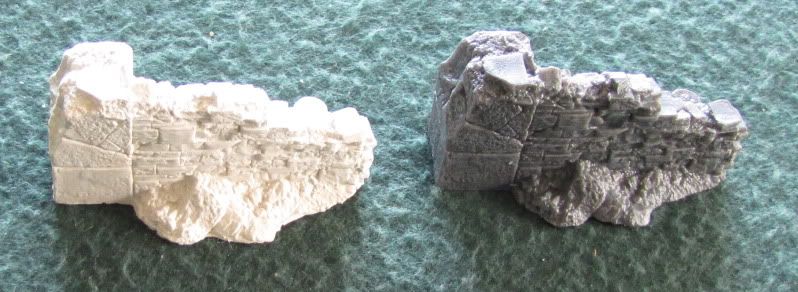
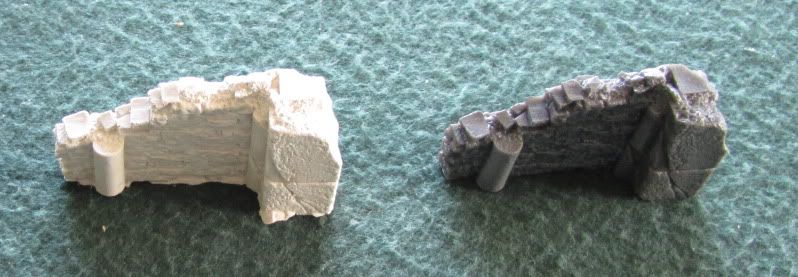
I have made lots of casting and I used the wet water method. The plaster is Dental , you can order it from placemakers and it dries quickly. Well that was a surprise, a perfect copy even though I rushed the mold making process.
No comments:
Post a Comment